How to Start a Sourdough Starter
How to Start a Sourdough Starter
How to Start a Sourdough Starter or should I say a Rye sourdough starter, is from The Week-end Bakery. It makes the absolutely best rye sourdough bread ever. I started my rye sourdough starter in July of 2012. I’ve made Rye Sourdough Bread at least once a week ever since. I have given the link for The Week-end Bakery, so you can follow the easy directions and start your own rye sourdough starter too. Have fun with your new starter!
All Sourdough Starters
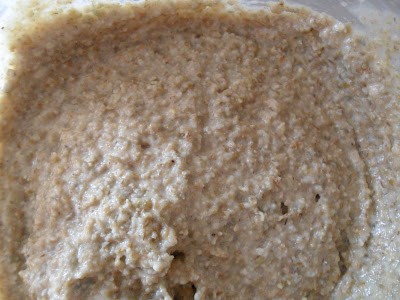
All sourdough starters, whether you use rye flour, white flour or whole wheat flour are made basically the same way. Using the same procedure and formula. Starters are very forgiving. Depending on how you like your starter, thin or thick, you really can’t ruin it. White flour starters are usually 1 cup flour to 1 cup water and whole wheat flour starters are 3/4 cup whole wheat flour to 3/4 cup water. Flour, water and time equals a starter.
A Rye Starter
A rye starter based on rye flour is easy to maintain. It doesn’t turn into a slurry like a wheat or white starter does when you forget about it. It’s easy to maintain and contains no gluten. It smells very nice, similar to fruit. It’s also very forgiving in the amount you feed it…a few tablespoons of water and rye flour. But, first things first. Use a clean jar and always use clean non-metal spoons for stirring.
Flour and Water
Use organic whole grain rye flour. Start out small and increase amounts gradually. Be sure to use water that does not contain chlorine. Most tap water has a small amount of chlorine added. When in doubt, use bottled water. I always do. Set aside a gallon of spring water and use it specifically for your starter. Keep the water at room temperature. I cover my jar with gauze that I place over the top of the jar and secure with a rubber band.
Follow These Simple Steps:
Day 1:
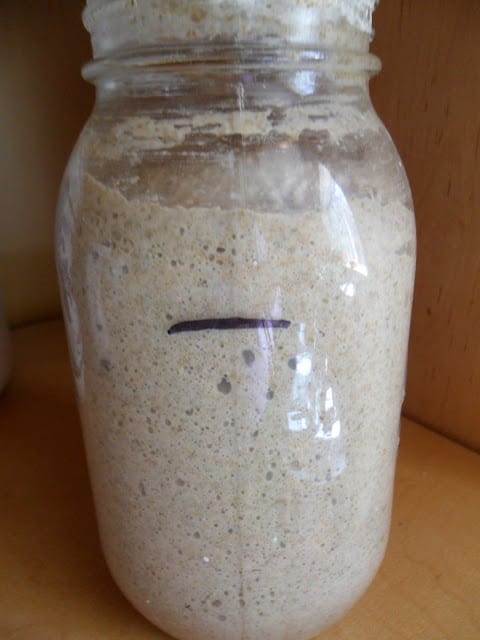
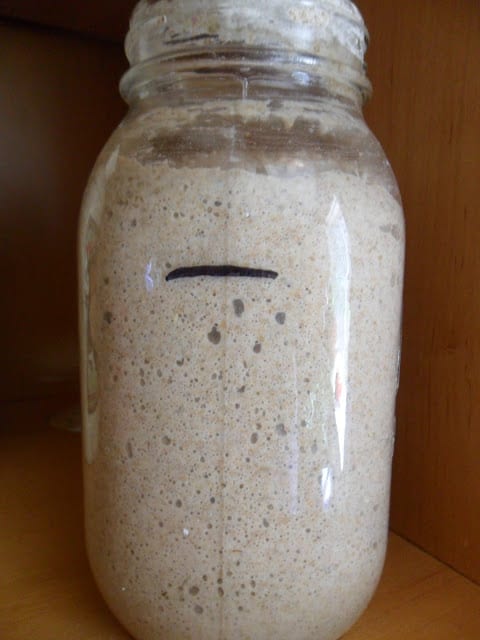
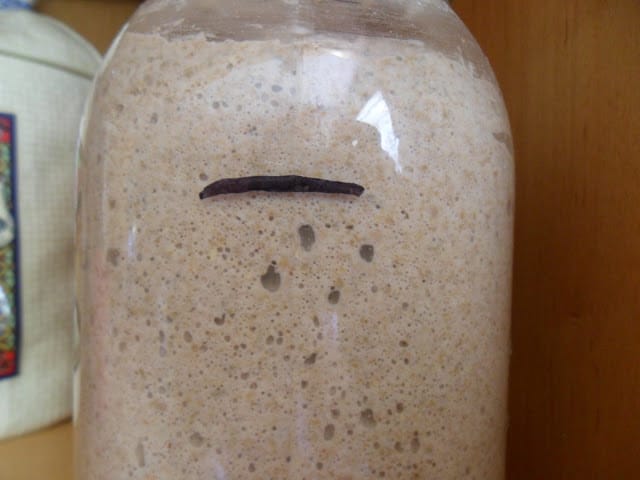
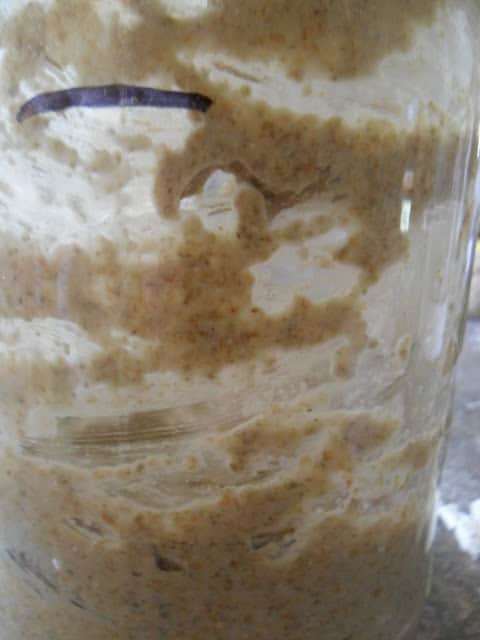
Take a small clean jar (400 ml jam jar) and add 40 ml of water and 40 g of whole grain rye flour, stir with a clean spoon for 30 seconds. Draw a line to mark the height of the mixture with a permanent marker on the jar so you can see any activity easily. Loosely close the lid of the jar and store at room temperature (about 20-21 degrees Celsius) out of direct sunlight for 24 hours.
Day 2:
If your lucky, you should see some little bubbles of sir in the mixture. The smell of the mixture at this stage is not very nice, a bit musty but not totally off putting. Add 20 ml of water and 20 g of whole grain rye flour. Stir with a clean spoon for 30 seconds. Draw a new mark line if needed. Loosely close the lid of the jar and store at room temperature out of direct sunlight for 24 hours.
Day 3:
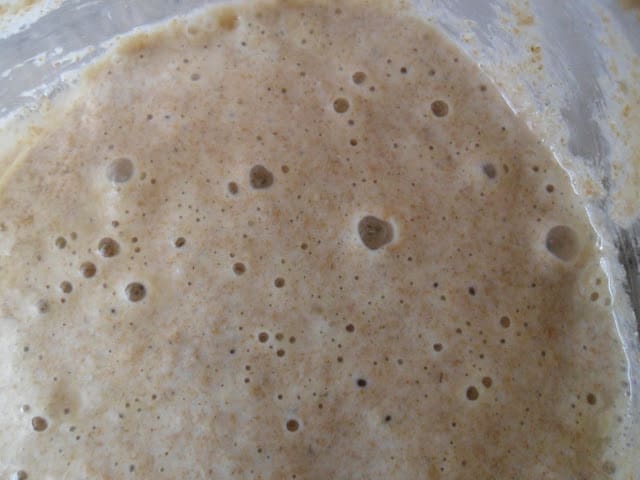
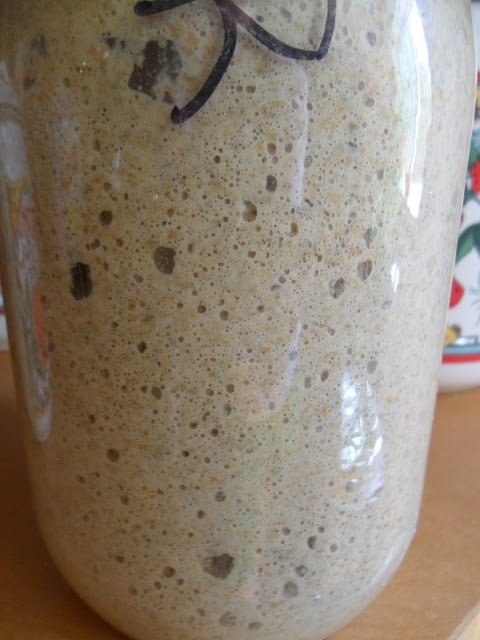
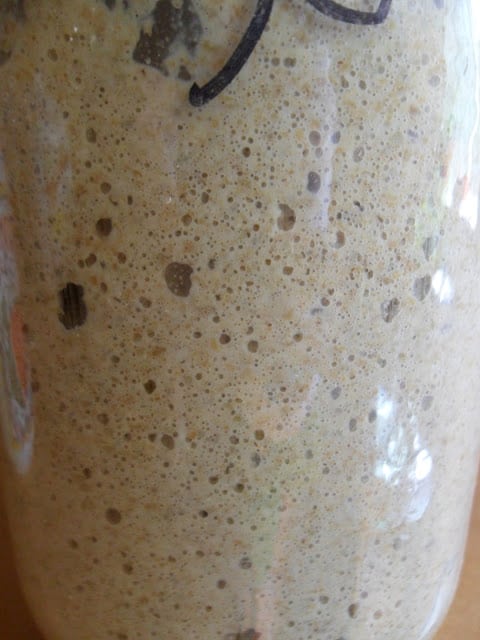
Your mixture should now be getting active. Mine more than doubled during the last 24 hours. If your mixture is not very active yet, throw away half of the mixture and repeat the directions of day 2 again. The smell of your mixture should be a little nicer, sweeter, at this stage. When your mixture is active, throw away two-thirds of the mixture and add 30 ml of water and 30 g of whole grain rye flour, stir with a clean spoon for 30 seconds, store at room temperature.
Day 3 Notes:
A procedure called ‘refreshing’ or ‘feeding’ your starter. By throwing out half of your mixture and adding new rye flour, you give the starter fresh food (the rye flour) to work (feed) on, so all your new yeast and bacteria can get stronger and multiply again. You can also dilute the alcohol and the acid they produce so the yeast and bacteria do not poison themselves.
Day 4:
Your starter should now be fully active and strong enough to double or triple in size during a 24 hour time period. We need to refresh it again before we can use this starter because the acid producing bacteria needs more time to develop than the yeast, so throw away two-thirds of the mixture and add 30 ml of water and 30 g of whole grain rye flour, stir with a clean spoon for 30 seconds and store at room temperature.
Day 5:
Your starter should be at least double in size consistently after each refreshment to be ready for your first baking project. If your culture does not double in size consistently after day 4 or 5 repeat the directions of day 4 until it does. At this stage your starter should be developing a nice fruity smell over the next few days. You can now let your starter rest for a few days. I keep my starter after refreshing, on the counter for 12 to 24 hours.
Day 6:
We then store it in the fridge. Mine developed a nice fruity tone on day 6 which got even nicer on day 7. Just keep using and maintaining the starter from now on, after a while the color of your starter should get a little bit more beige after it has tripled after a feeding. This is a sign of maturation of the starter and the production of acid.
How to maintain your rye starter
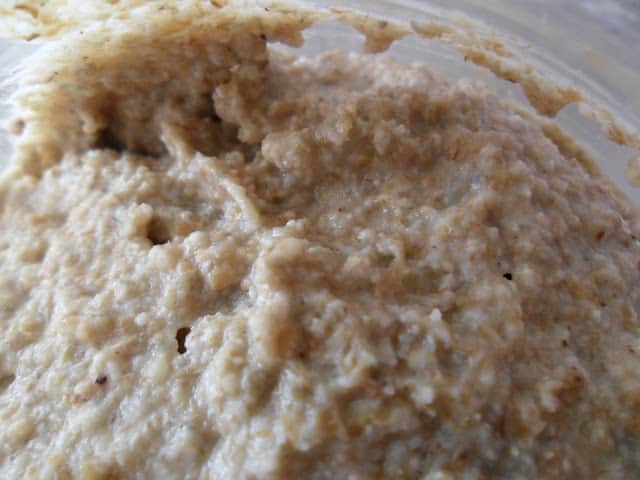
We store our starter in the fridge. We bake (almost) every weekend, so our starter is being refreshed at least each week. We keep about 2 cups of starter, of which we use about 1 cup each week. After taking out the amount for baking, add about 3/4 cup water and 3/4 cup rye flour and stir,
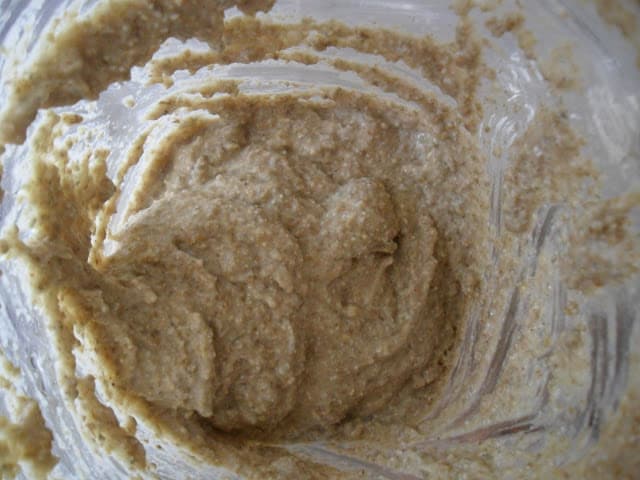
doing this allows us to have about 2 cups of starter again. We keep our starter quite stiff, almost like a thick paste.
After it develops
The reason for this is that it will develop a lot slower with less water, so it matures during the week and is ready for baking the next weekend. After feeding we keep the starter on the kitchen table, at room temperature for about 12 hours. It can develop and double or even triple in size. When it has developed, we store it in the refrigerator until the next baking session. Use your starter to make New Bohemian Rye Sourdough Bread
The Weekend Bakery
Always wait for your starter to at least double in size before storing it in the fridge, a starter should be fully developed before it can survive in the cold. A starter kept in the fridge, should at least be refreshed every two weeks. A starter kept on your counter should be refreshed at least every day. Keep it refreshed, so it will be ready and active for your next baking session. For all your rye starter needs, check out: The Weekend Bakery
Here are a few of our favorite sourdough recipes found here on Turnips 2 Tangerines. Sourdough Corn Fritters, Sourdough Oatmeal Bread, Cheese and Bacon Sourdough Biscuits.

